On the previous and first post about the IaC Series, I wrote about the beginning on the IaC and did describe the tools. On this post I will detail all the tools that I have been using on my IaC projects.
So, before you get started, there are a few tools that you want to make sure that you have to install prior to started working with IaC project. At least for me, these were the steps I took before I started. As mention on the previous post (see HERE), I use the following toolset:
Visual Studio Code – Visual Studio Code is a lightweight code editor that can be used with almost any coding language. You can download VSCode HERE.
Terraform Extension – Mikael Olenfalk’s Terraform extension for Visual Studio Code will provide syntax highlighting and autocomplete that is specific to the Terraform language. You can download the extension HERE. This need to be installed after the Visual Studio Code.
Git – Git is essential to the build and release process, which relies heavily on repositories to handle changes to Terraform code. You can download Git HERE. The installation it’s very simple and I went with the defaults the majority of the times, although make sure during the Git installation you select the following:
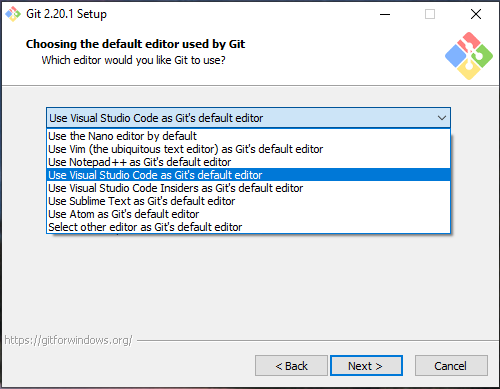
1 - On the Choosing the default editor used by Git window, you choose the Use Visual Studio Code as Git’s default editor
2 – On the Adjusting your PATH environment window, you select the option Git from the command line and also from 3rd-party software

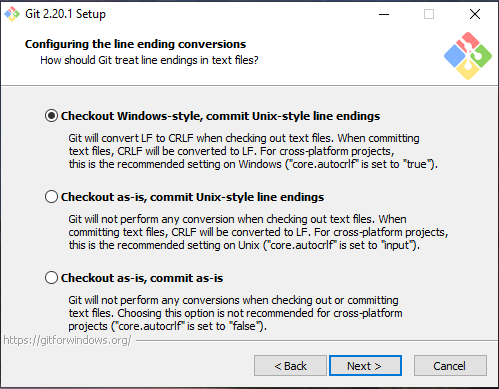
3 – On the Configuring the line ending conversations windows, you select the option Checkout Windows-style, commit Unix-style line endings
If you are not familiar with Git, and how Git works, I highly recommend reading more about its functions and be familiar with how to use them. You can read up on the basics of Git HERE.
PowerShell – PowerShell comes pre-installed with Windows, so you won’t have to download anything, however, make sure you know how to open PowerShell as an administrator. This can be done by typing PowerShell in the start menu, right clicking the PowerShell icon, and selecting Run as Administrator.
AzureRM Powershell – Azure Powershell is a set of modules for Powershell that allows Windows to interface with Azure. To install AzureRM, open PowerShell as an administrator and type in Install-Module -Name AzureRM -AllowClobber. If it asks if you want to install all the modules, select A for yes to all.
Cheers,
Marcos Nogueira
Azure MVP
azurecentric.com
Twitter: @mdnoga

Comments