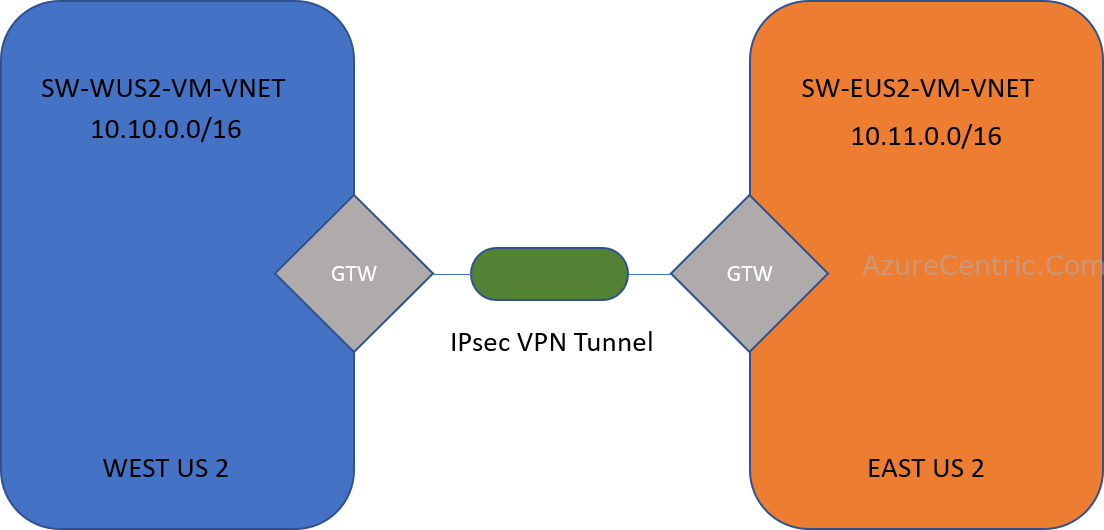
In this blog post series, I will cover what you need to configure to create a VNet-to-VNet VPN between to Azure regions on the same subscription. Although is about the same configuration if you want to configure two different VNets on different subscriptions. You can see the previous post here.
On Part 1, I create one side of the network using Azure Portal. Although, that is not my usual method of configured Network and VPN. I prefer using PowerShell. One of the reasons is related to the fact that I spin a lot of environments, for testing, for Proof-of-Concepts, and for production.
As a result of that, I always look a way to automate and be more productive. But the main reason is not only those, it’s more related to the fact that I found through PowerShell I’m reducing the human mistake factor! Yes, as everyone, I also do mistakes!
How to configure using PowerShell
Now that we have on side of the net configured (see previous post), I need to configure the network on a different region. For this I will show my script that I use to configure. I’m sure there way other ways (probably better than mine), to script that. I like to keep it simple.
Here is the script:
#Setting all the variables
$Sub = "Your_Subcription_Name"
$RG = "RG-SW-EUS2-VM"
$Region = "East US 2"
$VNetName = "SW-EUS2-VM-VNET"
$SubName = "SW-EUS2-VM-SUBNET"
$GWSubName = "GatewaySubnet"
$VNetPrefix11 = "10.11.0.0/16"
$SubPrefix = "10.11.0.0/24"
$GWSubPrefix = "10.11.254.0/24"
$GWName = "SW-EUS2-WUS2-VPN"
$GWIPName = "SW-EUS2-WUS2-VPN"
$GWIPconfName = "SW-EUS2-WUS2-VPN-CON"

#1 - Login to Azure
Login-AzureRmAccount

#2 - Select the appropriated subscription
Get-AzureRmSubscription
Select-AzureRmSubscription -SubscriptionName $Sub

#3 - Create the Resource Group
New-AzureRmResourceGroup -Name $RG -Location $Region

#4 - Create the VNets and Subnets
$subnet = New-AzureRmVirtualNetworkSubnetConfig -Name $SubName -AddressPrefix $SubPrefix
$gwsub = New-AzureRmVirtualNetworkSubnetConfig -Name $GWSubName -AddressPrefix $GWSubPrefix
New-AzureRmVirtualNetwork -Name $VNetName -ResourceGroupName $RG -Location $Region -AddressPrefix $VNetPrefix11 -Subnet $subnet,$gwsub1

#5 - Request the Public IP
$gwpip = New-AzureRmPublicIpAddress -Name $GWIPName -ResourceGroupName $RG -Location $Region -AllocationMethod Dynamic

#6 - Create the gateway
$vnet = Get-AzureRmVirtualNetwork -Name $VNetName -ResourceGroupName $RG
$gwsubnet = Get-AzureRmVirtualNetworkSubnetConfig -Name "GatewaySubnet" -VirtualNetwork $vnet
$gwipconf = New-AzureRmVirtualNetworkGatewayIpConfig -Name $GWIPconfName -Subnet $gwsubnet -PublicIpAddress $gwpip
New-AzureRmVirtualNetworkGateway -Name $GWName -ResourceGroupName $RG -Location $Region -IpConfigurations $gwipconf -GatewayType Vpn -VpnType RouteBased -GatewaySku VpnGw1
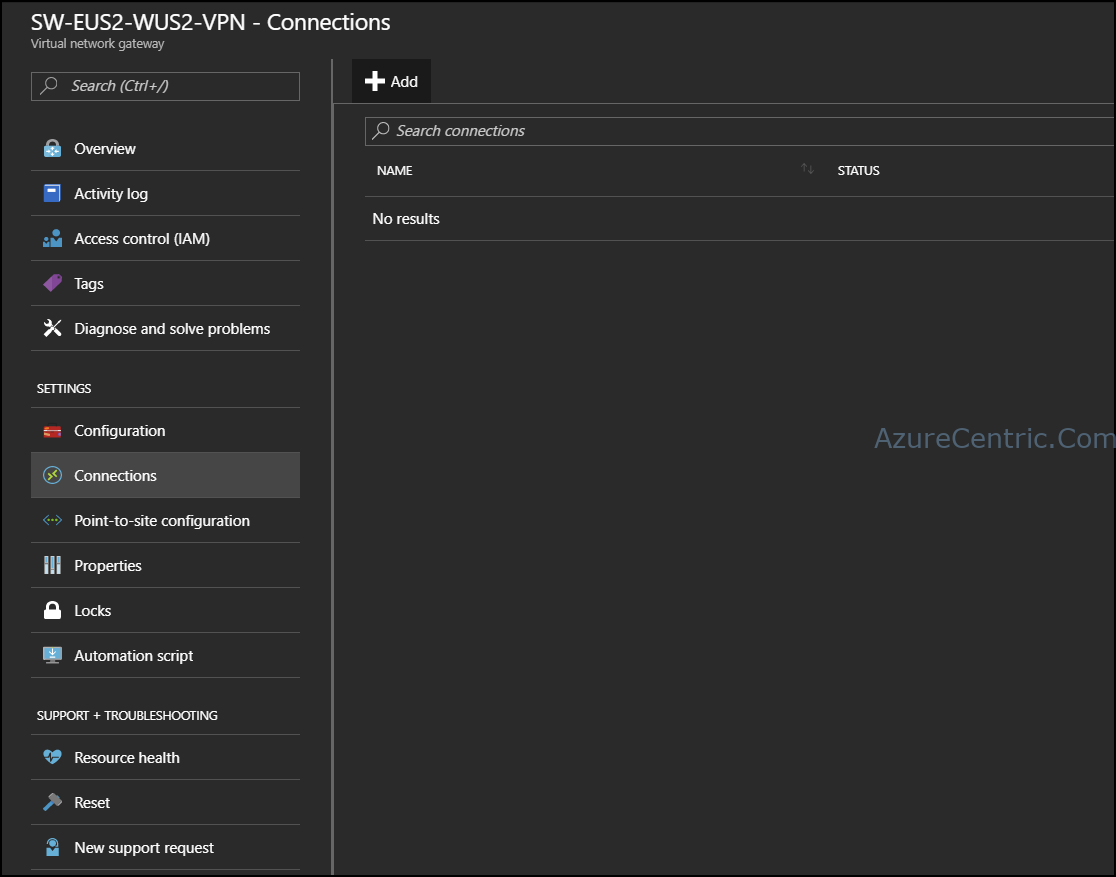
So, after you run you should have both VNets configured. Although they are not connected yet. That is the next step.
Cheers,
Marcos Nogueira
Azure MVP
azurecentric.com
Twitter: @mdnoga


Comments